By using the trace bitmap function in Inkscape the picture is broken down into layers that can be "cut out" of scanned paper.
The first thing is to find a nice picture, you want some shadows but not big areas of dark shadow. To make the finished picture clearer remove the background, I used the Gimp for this. Then open the picture in Inkscape.
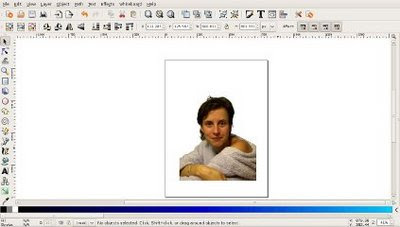
With the pictures selected, go to the path menu, and choose trace bitmap. This will bring up a new window, chose brightness steps, make the scans 4, check smooth and stack scans. Click update for a preview and ok when you are happy it.
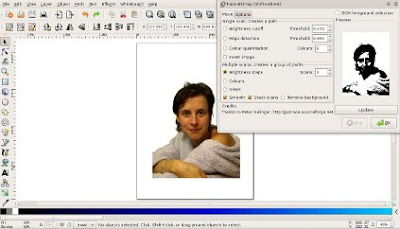
You will now have a new set of black and white layers on top of your photo. Click un-group, then separate the layers. You can delete the photo if you want or just move it to one side.
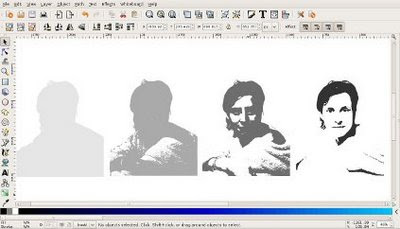
Open the first paper that you will use for the darkest layer (obviously make this a dark coloured paper!) and put it over your darkest scan. Your paper needs to be below the scan so click page down to lower it.
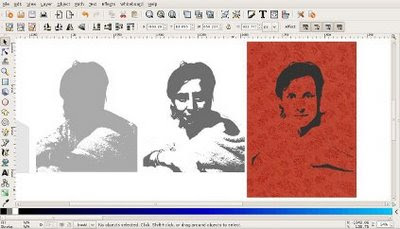
Select both the scan and the paper, then go to the object menu, clip, set. You'll now have your scan cut out of the paper.
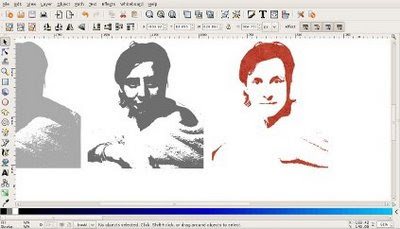
Do this for all of your scans.
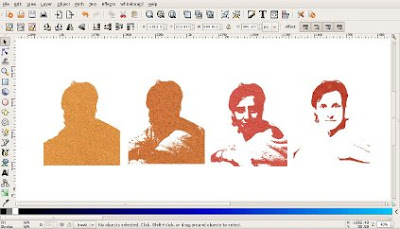
Put all the layers back on top of each other in the right order, darkest on top. Then to align them easily select all of your scans, then open the align dialogue box by going to the object menu, and choosing align. Make sure you have relative to: selection chosen. Choose centre on vertical axis and then align tops to get all the scans aligned.
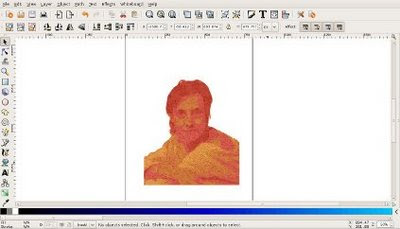
Select all the scans and group them together. To finish the picture I used another paper for the background and made a frame. For the frame, make a rectangle of the size you want, turn off the fill and make a thick stroke, I chose 40px. To give the frame some interest I filled it with a gradient.
To make the inside shadow copy the frame and move the copy to one side so you can see what you are doing. Duplicate the frame then change the colour of the new frame to black. Blur the new black frame by about 8%.
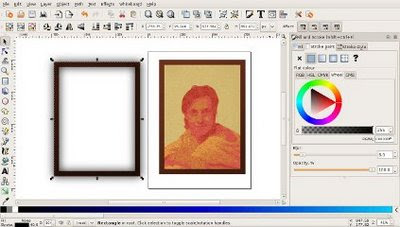
Lower the blurred frame to the bottom by clicking page down, then with both frames selected, go to object, clip, set.
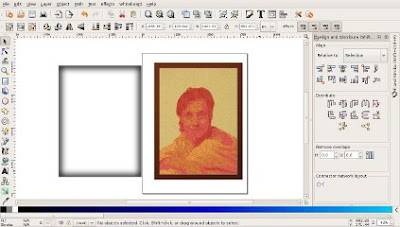
Now align the shadow with the frame, do this by hand, bringing the shadow up above the picture and background layers if necessary...
...and there you have it!
